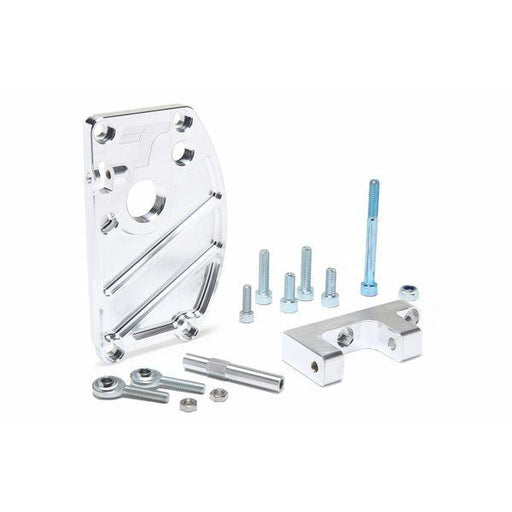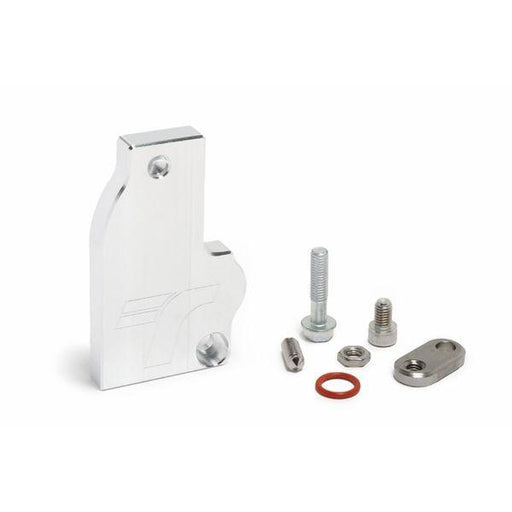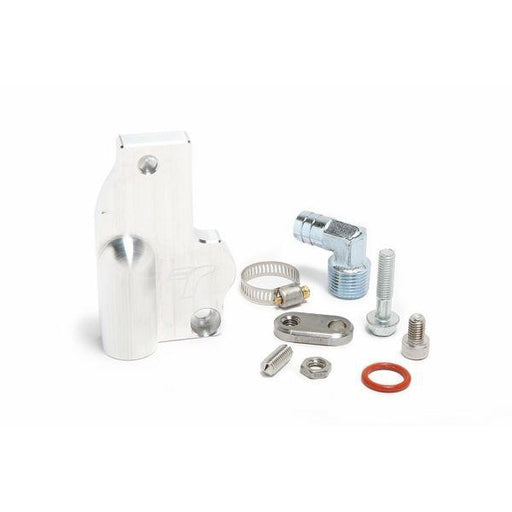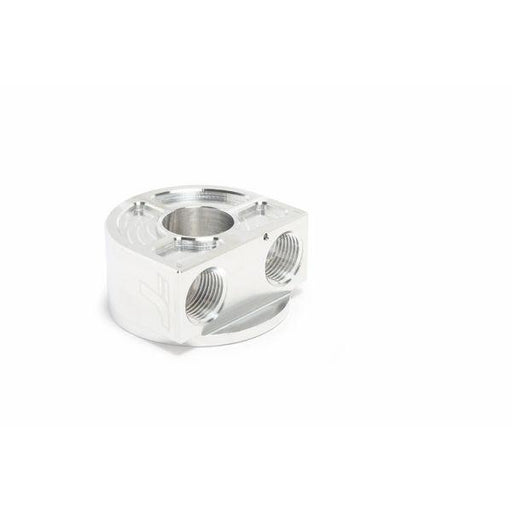


TracTuff K Series Thermostat Port Adapter
Buy now pay later,no extra cost!
Payments from $6.57 with
TracTuff K Series Thermostat Port Adapter is the ONLY solution for those of you looking to retain in-cabin heat with some of my swirl tanks and/ or crazy sidewinder turbo manifolds that conflict with the OEM hard-pipe. It's also going to be a popular choice for those that just want to eliminate the ugly prebent pipe that doesn't fit aesthetically, once surrounding OEM parts have been removed. Remember, these fittings should be used as return as they are constantly pulling water from what they are connected to.
Understand that we are dealing with imports and therefore metric connections... which nothing matches up perfectly too; not to mention that different hose types have different inside (ID) and outside (OD) dimensions. I offer these but it is up to you to make them work... here is a bit of helpful info to assist you with you selection.
-6 is equal to a metal tube with an OD of 3/8" (.3750"), -8 is equal to a metal tube with an OD of 1/2" (.5000"), -10 is equal to a metal tube with an OD of 5/8" (.6250"), and -12 is equal to a metal tube with an OD of 3/4" (.7500"). Know that not all "AN" hose is the same and there will be variances for manufacture to manufacture as well as in different types of hose from the same manufacture. XRP Pushlock hose has an ID of 3/8" for -6, 1/2" for -8, 5/8" for -10, 3/4" for -12 but XRP CPE or XR-31 hose has an ID of 11/32" for -6, 7/16" for -8, 9/16" for -10, 11/16" for -12. Please consider the k series M18 and M20 and/ or the k series water passage adapter to complete the coolant loop.
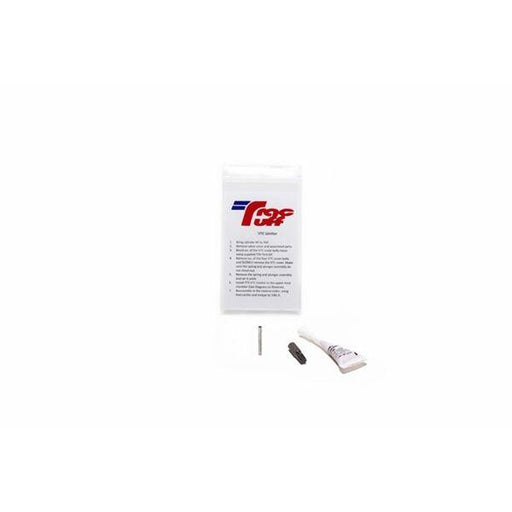
Machined from US milled 6061 aluminum w/ a 5/8" slip hose or -6 or -10 male flare connection and o-ring to seal in the OEM housing. Installation is straight forward, all you will need is a drill, a small bit (.090" to .060"), and few inches of safety wire, and safety wire pliers or something equivalent to twist wire. A little bit of WD40 helps get the fitting into the plastic housing.
Installation Instructions:
1. If you purchased the install kit, grab the drill bit and drill a hole 1/16" to 1/8" from the top edge.
2. Install the o-ring on the fitting and install the fitting into the housing. A little WD40 helps a lot!
3. If you purchased the install kit, grab the stainless safety wire, straighten it out, and put a small hook on one end.
4. Fish the hooked end of the stainless safety wire through the grove in the fitting and the hole in the housing and pull approx. 2.00" through.
5. Create a loop with the long end, finishing with the short leg BEHIND the long leg.
6. Wrap the loop around the threaded base of the fitting and pull snugly unto the grove.
7. Join the two ends by pulling the upper end down to the lower end. Grab safety wire pliers or something you can hold the two wires with and twist the pair several times.
8. Cut the excess wire back around the 6th or 7th twist and curl the end so you dont have a sharp end sticking out. You'll thank me later!